What Is the Most Famous Amp of All Time?

If you’ve ever wondered what the most famous amp of all time is, you’re in good company. Guitarists, music lovers, and gearheads have asked this question for decades. The answer isn’t as simple as naming a single model, but one amplifier consistently rises to the top of every list: the Marshall 1959 Super Lead 100 Watt Plexi. Let’s take a journey through the world of legendary amps, discover what makes the Plexi so iconic, and see how it compares to other famous contenders.


The Marshall 1959 Super Lead 100 Watt Plexi

You can’t talk about famous guitar amps without mentioning the Marshall 1959 Super Lead, affectionately known as the “Plexi.” This amp isn’t just a piece of gear—it’s a cornerstone of rock history. Introduced in 1965, the 1959 Super Lead was designed for power, clarity, and the kind of raw energy that could fill stadiums. Its name comes from its Plexiglass faceplate, and its reputation comes from the legendary artists who made it their weapon of choice.

Why the Plexi Stands Out

  • Unmatched Power: With 100 watts of searing tube-driven energy, the Plexi was built to be loud. This amp doesn’t just play music—it roars, making it perfect for live performances in big venues.
  • Signature Sound: The Plexi’s sound is instantly recognizable. It’s punchy, dynamic, and has a growl that defined classic rock. Plug in a guitar, crank up the volume, and you’ll hear the unmistakable crunch that changed music forever.
  • Legendary Players: Jimi Hendrix, Eric Clapton, Pete Townshend, Angus Young, and Jimmy Page all relied on the Plexi to create their signature sounds. Hendrix’s performance at Woodstock? That was the Plexi in action.
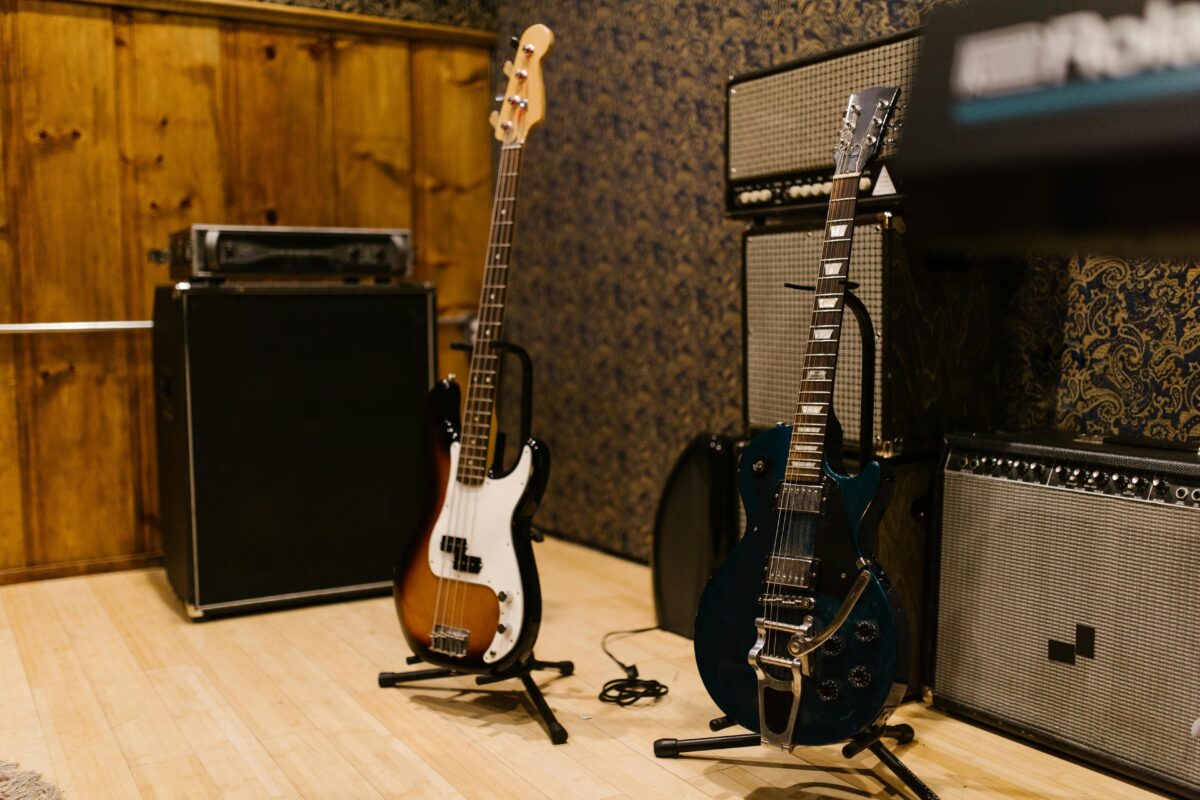
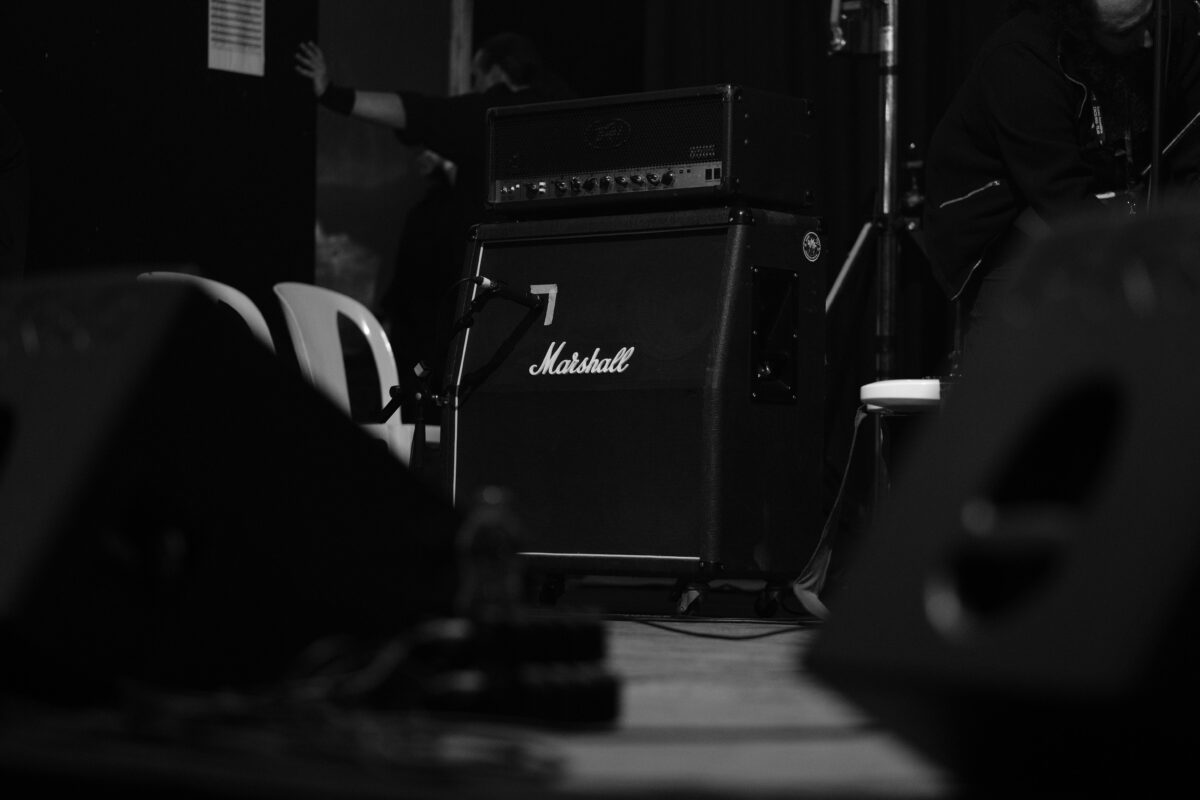
  • Stacked for Success: The Plexi is famous for being paired with Marshall 4×12 cabinets, creating the iconic “Marshall Stack.” This setup became the visual and sonic symbol of rock concerts everywhere.

The Plexi’s Lasting Legacy

The Marshall 1959 Super Lead didn’t just shape the sound of rock—it helped define the very idea of what a guitar amp could be. Its influence is still felt today, with countless reissues and modern amps trying to capture its magic.


Other Legendary Amps That Made History

While the Marshall Plexi often takes the crown, it’s not the only amp to achieve legendary status. Let’s look at a few other icons that have left their mark on music.

Fender Twin Reverb

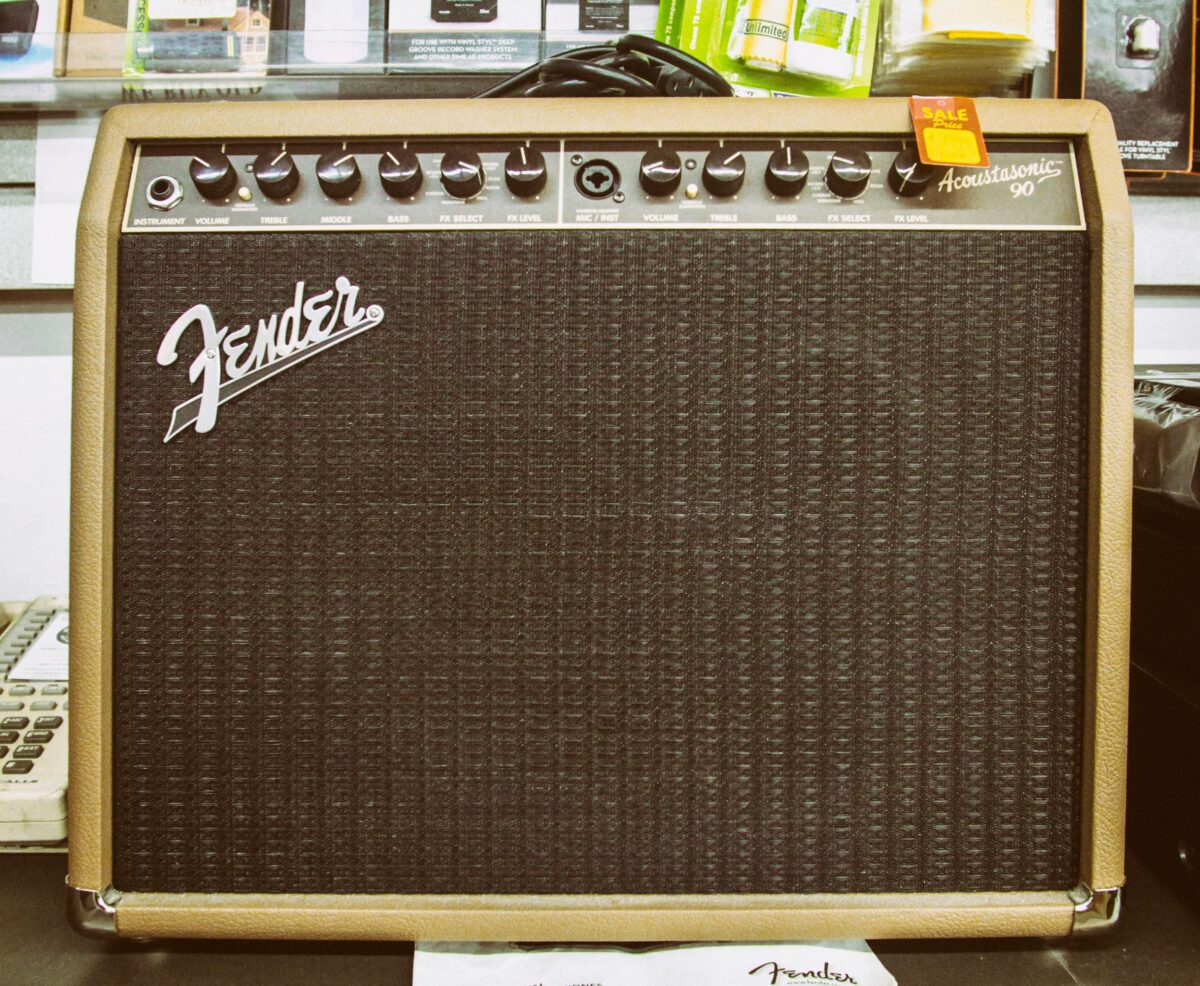
If you crave sparkling clean tones, the Fender Twin Reverb is your dream amp. Introduced in 1963, it became the go-to for countless genres, from rock and blues to country and jazz. Its two 12-inch speakers and built-in reverb and tremolo effects made it a favorite for guitarists who wanted clarity and versatility.

  • Crystal Clear Sound: The Twin Reverb is famous for its clean, powerful tone. It’s the amp you want when you need every note to ring out with perfect clarity.
  • Used by Legends: Stevie Ray Vaughan, Jimi Hendrix, and Eric Clapton all used the Twin Reverb to craft their signature sounds.
  • Stage Presence: Its silverface and blackface designs are instantly recognizable on stages worldwide.

Vox AC30

The Vox AC30 is synonymous with the British Invasion. Designed in the late 1950s, it became the sound of The Beatles, The Rolling Stones, and Queen. Its chimey, jangly tone is perfect for pop, rock, and anything that needs a touch of vintage flair.

  • Unique Tone: The AC30 delivers a bright, articulate sound with a signature “top boost” that cuts through any mix.
  • Beatles Approved: The Beatles used the AC30 on many of their early recordings, helping to make it a household name.
  • Still in Demand: Modern players love the AC30 for its classic sound and reliability.

Fender Deluxe 5E3 “Tweed”

The Fender Deluxe 5E3, especially the “Tweed” models from the 1950s, is another amp that’s earned a place in history. Known for its warm, saturated tone and touch sensitivity, it’s beloved by blues and rock guitarists alike.

  • Dynamic Response: The 5E3’s circuit allows for sweet, harmonically rich overdrive that responds beautifully to your playing style.
  • Used by Greats: Neil Young, Billy Gibbons, and Mark Knopfler are just a few of the artists who’ve relied on the 5E3 for its unique sound.

What Makes an Amp “Famous”?

You might wonder what it takes for an amp to become truly famous. It’s not just about how many units were sold or how many artists used it. The most famous amps have a few things in common:

  • Iconic Sound: They have a signature tone that stands out in recordings and live performances.
  • Influence: They helped shape the sound of entire genres.
  • Endorsement: Legendary musicians used them to create unforgettable music.
  • Longevity: Decades after their release, they’re still in demand and often reissued.

The Marshall 1959 Super Lead 100 Watt Plexi checks all these boxes and then some. It’s the amp that defined the sound of rock and roll and continues to inspire guitarists around the world.


The Most Famous Amp of All Time

So, what’s the final answer? If you’re looking for the amp that’s most synonymous with rock history, stage presence, and legendary tone, the Marshall 1959 Super Lead 100 Watt Plexi stands alone at the top. Its unmistakable sound, iconic design, and association with some of the greatest guitarists of all time make it the most famous amp ever built.

That said, the Fender Twin Reverb and Vox AC30 aren’t far behind. Each has its own legion of fans and a unique place in music history. But when you picture a wall of amps behind a rock legend, chances are you’re picturing a Marshall Plexi stack.


Why the Plexi Still Matters Today

You might think that with all the advances in technology, classic amps like the Plexi would fade into obscurity. The opposite is true. Modern guitarists still seek out vintage Plexis and their reissues, chasing that legendary tone that shaped the sound of rock. Whether you’re a hobbyist or a professional, plugging into a Plexi connects you to a lineage of musical greatness.

  • Reissues and Modern Versions: Marshall continues to produce reissues of the 1959 Super Lead, keeping the spirit of the original alive for new generations.
  • Influence on Modern Amps: Many boutique and mainstream amp builders try to capture the magic of the Plexi in their own designs, but there’s nothing quite like the real thing.

The Amp That Changed Everything

If you ever get the chance to play through a Marshall 1959 Super Lead 100 Watt Plexi, don’t pass it up. You’ll understand why it’s the most famous amp of all time as soon as you hit your first chord. The roar, the feel, and the history all come together in one unforgettable experience.

So, next time someone asks you about the most famous amp ever, you can answer with confidence: it’s the Marshall 1959 Super Lead 100 Watt Plexi—the amp that made rock and roll louder, prouder, and more legendary than ever before
How Do You Know What Amp to Get for Your Guitar?

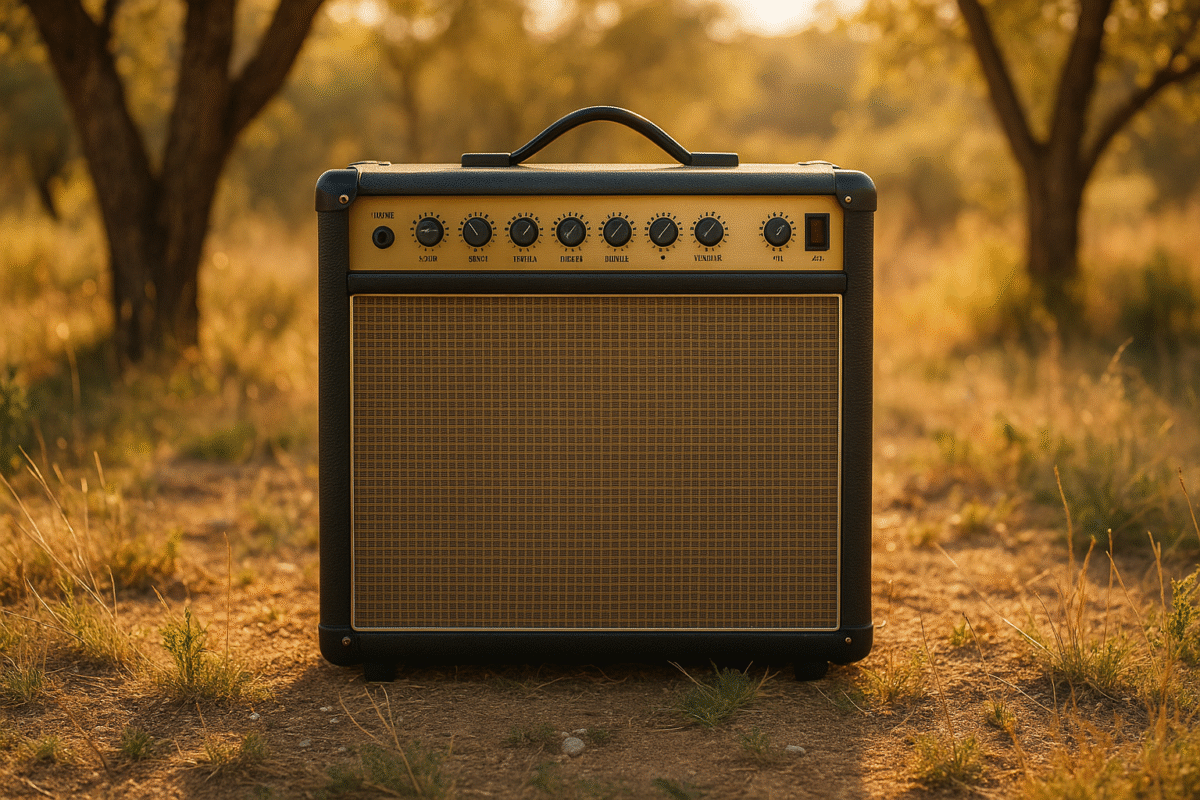
Choosing the right amp for your guitar can feel like walking into a candy store with endless options—exciting but a little overwhelming. Whether you’re a beginner, a bedroom rocker, or a gigging musician, the right amp will help you shape your sound, match your style, and inspire you to play more. So, how do you know what amp to get for your guitar? Let’s break it down in a way that’s easy, practical, and tailored to what you actually need.


Understanding the Basics: What Does a Guitar Amp Do?

A guitar amp is more than just a speaker—it’s the heart of your electric guitar setup. It takes the signal from your guitar, shapes the tone, and projects your sound so you can hear it (and so can everyone else). There are a few main types of amps, each with their own strengths:

  • Combo amps: These combine the amplifier and speaker in one box. They’re easy to use and portable, making them a favorite for beginners and home players.
  • Amp heads and cabinets: The head contains the electronics, and the cabinet houses the speakers. This setup is more customizable and powerful, great for gigging and pro players.
  • Modeling amps: These use digital technology to emulate the sounds of many classic amps. They’re versatile and packed with features, perfect if you want variety without a pedalboard full of effects.

1. Match Your Amp to Your Playing Situation

Before you get dazzled by knobs and glowing tubes, ask yourself: where will you be playing most?

Playing at Home

If you’re mostly practicing at home, you don’t need a massive amp. In fact, a small amp (under 20 watts) is perfect. These amps are quiet enough for apartments, won’t annoy your neighbors, and still give you great tone at low volumes. Many small amps also have headphone jacks, so you can practice in silence.

Jamming With Friends or Small Gigs

If you’re playing with a band or at open mics, you’ll want a bit more power. Amps in the 20-50 watt range are loud enough for rehearsals and small venues but still manageable to carry around.

Playing Large Venues

If you’re performing on big stages, you’ll need an amp with at least 50 watts (or more) to cut through the mix. At this level, many players use separate heads and cabinets for more volume and flexibility.


2. Think About Your Music Style

Your amp should complement the kind of music you love to play. Here’s how different amp types match up with popular genres:

GenreAmp TypeWhy It Works
BluesTube/Valve AmpWarm, dynamic, easy to push into natural overdrive
RockTube or Solid-StateVersatile, good clean and overdrive channels
MetalHigh-Gain Solid-State/ModelingAggressive distortion, tight low-end
JazzClean Solid-StatePristine, clear tones with lots of headroom
  • Tube (Valve) Amps: Famous for their warm, organic sound and natural overdrive. They’re a favorite for blues, classic rock, and jazz, but require more maintenance and are heavier to carry.
  • Solid-State Amps: Reliable, affordable, and lighter than tube amps. They’re great for clean tones and work well for jazz, pop, and practice.
  • Modeling Amps: Perfect if you want a huge range of sounds, from sparkling cleans to heavy metal distortion, all in one box.

3. Consider Features and Controls

Modern amps come loaded with features. Here’s what to look for:

  • Built-in Effects: Many amps offer reverb, delay, chorus, and more. If you’re just starting out, built-in effects let you experiment without buying pedals.
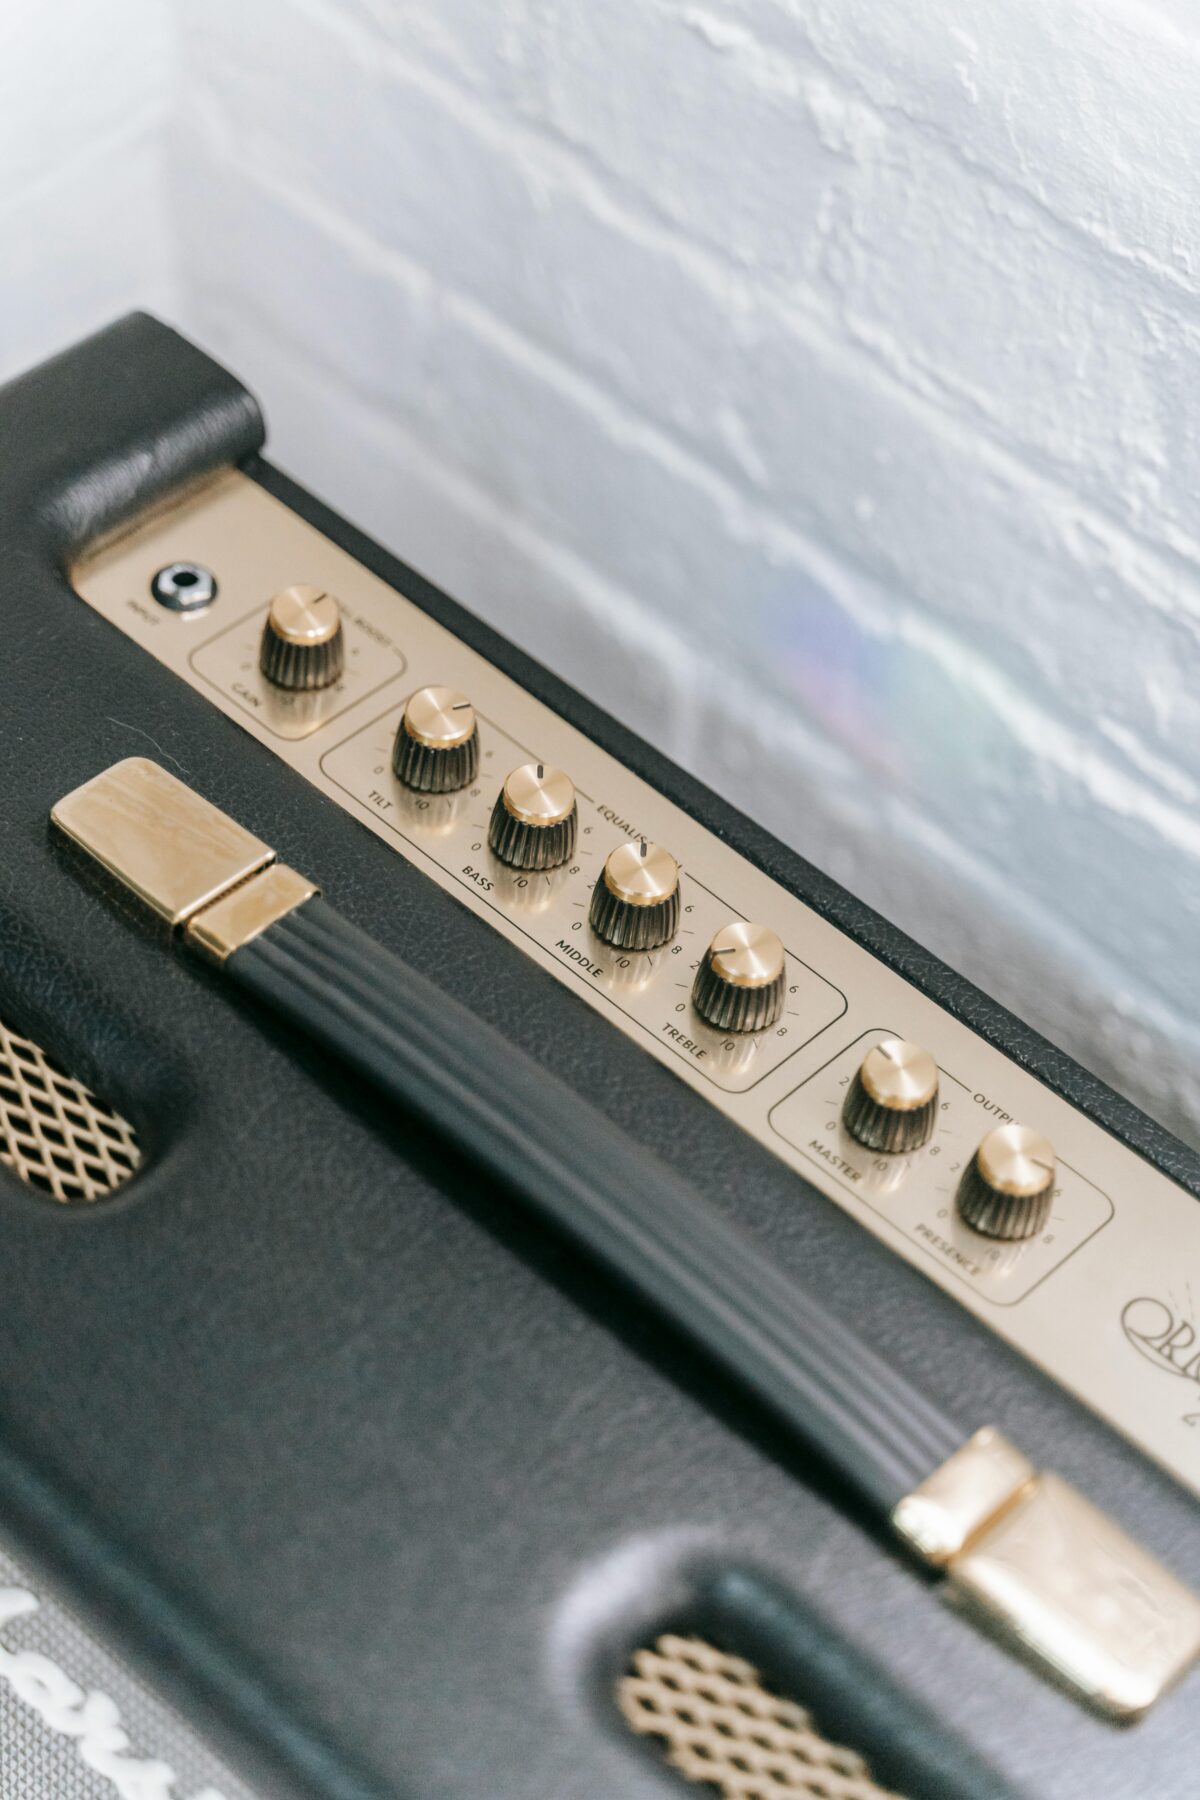
  • EQ Controls: Most amps have bass, mid, and treble knobs. These help you shape your sound to fit your guitar and playing environment.
  • Presence Control: Adjusts the brightness and clarity of your sound, handy for fine-tuning.
  • Aux Inputs and Headphone Jacks: Useful for practicing along with backing tracks or playing quietly at night.
  • Portability: If you’re on the move, look for lightweight amps with sturdy handles and durable construction.

4. Decide on the Right Size and Power

Amp size isn’t just about volume—it also affects your tone and how your guitar interacts with the amp.

  • Small Amps (1-15 watts): Great for home use, practice, and recording. They often sound great at lower volumes and are easy to carry.
  • Medium Amps (15-50 watts): Good for rehearsals, small gigs, and players who want a bit more headroom before the sound distorts.
  • Large Amps (50+ watts): Essential for big venues, loud bands, or if you need lots of clean volume. These amps are heavier and more expensive, but they deliver serious power.

Speaker size also matters. Smaller speakers (8-10 inches) give a brighter, more focused sound, while larger speakers (12 inches or more) produce fuller, bass-rich tones.


5. Set Your Budget

Amps come in all price ranges. Solid-state amps are generally more affordable, while tube amps and high-end modeling amps can be pricier. As a beginner, you don’t need to spend a fortune—there are excellent budget amps that sound great and offer plenty of features.

If you’re more advanced or want an amp that will last for years, investing in a higher-quality model can be worth it. Remember, the most expensive amp isn’t always the best for your needs.


6. Try Before You Buy

If possible, visit a music store and try out a few amps with your guitar. Listen for how the amp responds to your playing, how easy it is to use, and whether you like the sound. Don’t be afraid to ask questions or get advice from store staff or experienced friends.


7. Top Picks for Beginners and Beyond

Here are some amps that consistently get high marks for quality, value, and versatility:

  • Fender Champion II: Super versatile, easy to use, and packed with built-in effects. Available in different wattages to suit any situation. Great for beginners and intermediate players who want a reliable, all-purpose amp.
  • Vox Pathfinder 10: Simple, lightweight, and delivers classic Vox tones. Perfect for practice and learning, with just enough features to keep things interesting.
  • VISION 10W Electric Guitar Amplifier: Affordable, straightforward, and covers all the basics for new players.

These amps are known for their reliability, sound quality, and user-friendly controls. They’re a great starting point for most guitarists.


8. Common Mistakes to Avoid

  • Buying Too Much Amp: Don’t get a huge, high-wattage amp if you’re only playing at home. You’ll never get to turn it up, and it might sound worse at low volumes.
  • Ignoring Your Music Style: Make sure the amp can deliver the tones you want for your favorite genres.
  • Overlooking Features: Think about what you’ll actually use. If you love experimenting with sounds, modeling amps or amps with built-in effects are a good choice.
  • Forgetting Portability: If you’ll be carrying your amp around, choose something lightweight and durable.
  • Not Trying Before Buying: Sound and feel are personal—test amps in person if you can.

9. Quick Checklist: How to Choose Your Guitar Amp

  • Where will you be playing (home, rehearsal, gigs)?
  • What style of music do you play most?
  • Do you want clean tones, distortion, or both?
  • Do you need built-in effects?
  • How much can you carry (and store)?
  • What’s your budget?
  • Can you try it before you buy?

The Right Amp Inspires You to Play

The perfect amp is the one that makes you want to pick up your guitar and play every day. It should fit your space, match your style, and help you sound your best—without making things complicated. Whether you’re just starting out or leveling up your rig, keep your needs in mind, listen with your ears, and trust your instincts.

Remember, you can always upgrade or add pedals later. Start with an amp that feels right for you, and let your playing (and your ears) guide you as you grow as a guitarist.

Happy playing, and may your next amp bring you hours of musical joy!

What Size Amp Do You Need for 500 Watt Speakers?

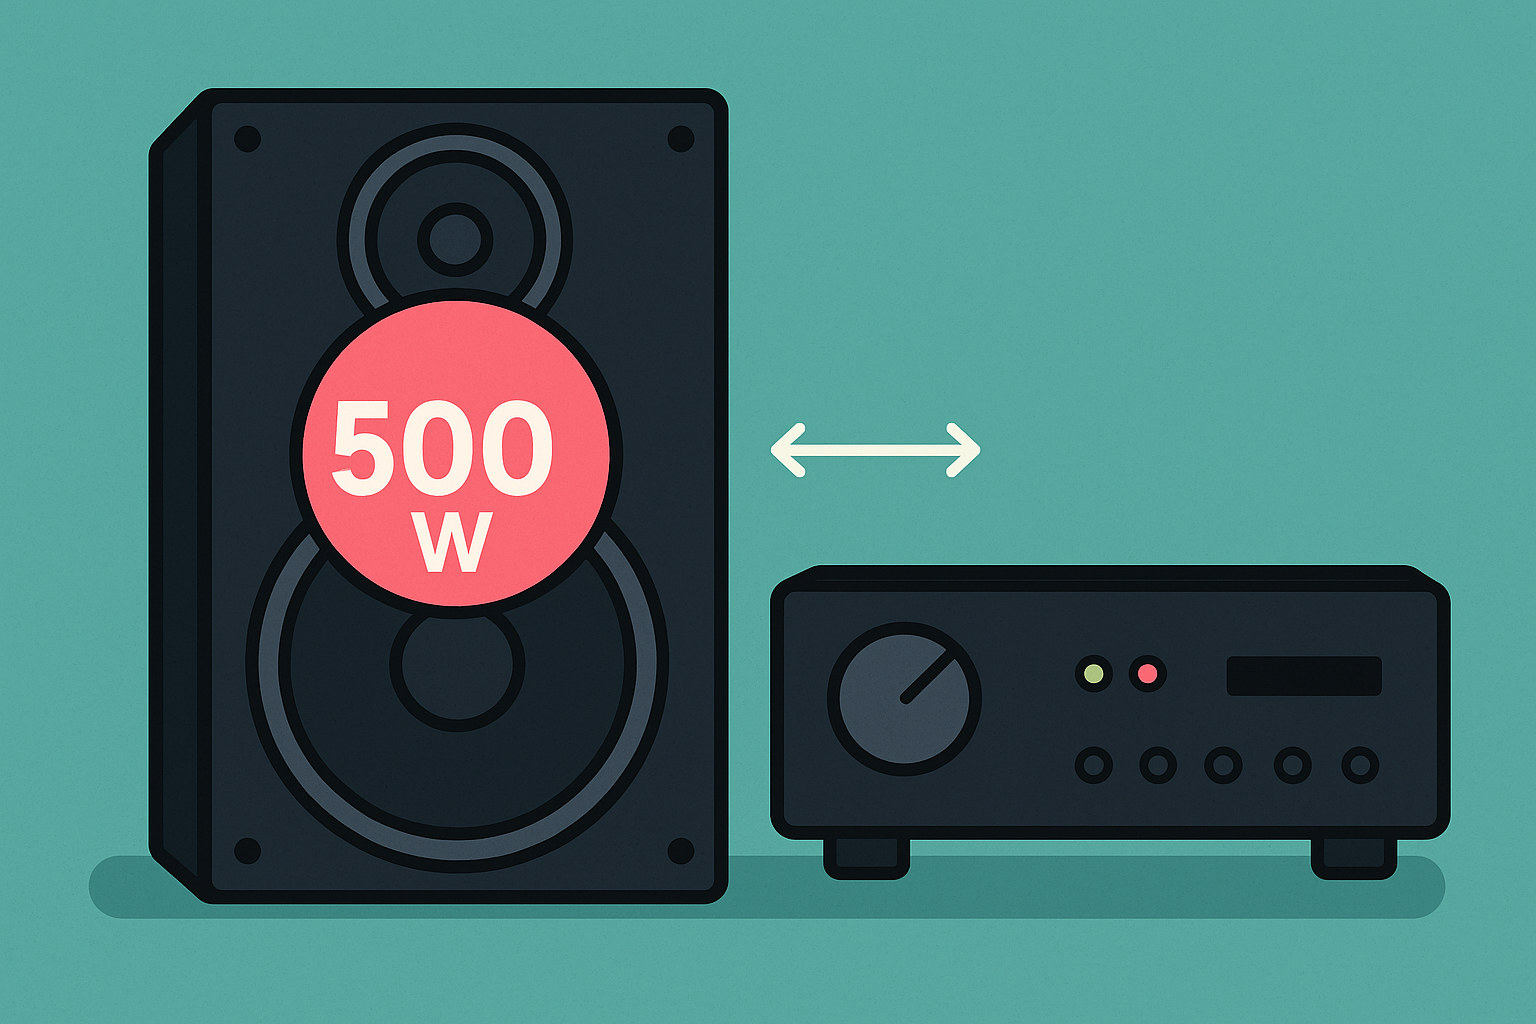
You’ve got a pair of 500 watt speakers and you’re wondering what kind of amp will make them sing. Choosing the right amp is key to getting the best sound and protecting your gear. Let’s break down what you need to know so you can make the right choice.


Understanding Speaker and Amp Power Ratings

First, look at your speaker’s specs. You’ll see numbers like “500 watts RMS” and maybe “800 watts max.” RMS stands for “Root Mean Square,” which is the real continuous power your speaker can handle. Max power is just a peak rating, not what your speaker uses all the time.

Your amp’s power rating should match or exceed your speaker’s RMS rating. This helps avoid distortion and keeps your system safe. If your speakers are 500 watts RMS, your amp should ideally be at least 500 watts per channel. But most experts suggest going a bit higher for the best results.


Why Overpowering Your Speakers Can Be a Good Thing

You might think using an amp with more power than your speakers is risky. Actually, it’s the opposite. An amp that’s too weak can cause distortion, which can damage your speakers. When you push a small amp too hard, it clips the signal. Clipping creates harsh sounds and can blow out your speakers faster than you think.

A common rule is to use an amp with 1.5 to 2 times your speaker’s RMS rating. For 500 watt speakers, that means an amp between 750 and 1000 watts per channel. This extra power is called “headroom.” Headroom lets your amp handle sudden loud sounds without straining. It also makes your music sound clearer and more dynamic.

Imagine your amp as a car engine. If you always drive at full speed, your engine wears out fast. With extra power, you can cruise easily and handle hills without stress. It’s the same with amps and speakers.


How to Match Your Amp to Your Speakers

Now, let’s talk about how to match your amp to your 500 watt speakers. Here’s a simple step-by-step guide:

  1. Check Your Speaker’s RMS Rating
    Your speakers should say “500 watts RMS.” That’s the number you care about.
  2. Find an Amp with Enough Power
    Look for an amp that’s at least 500 watts per channel at the same impedance as your speakers. If you want headroom, go for 750 to 1000 watts per channel.
  3. Look at Impedance
    Your speakers might say “8 ohms” or “4 ohms.” Make sure your amp can handle that impedance. Using the wrong impedance can damage your gear.
  4. Consider Your Needs
    Think about where you’ll use your system. For home use, you might not need the full 500 watts. For live sound or big parties, you’ll want every watt you can get.

Here’s a quick table to help you match your amp to your speakers:

Speaker RMS PowerMinimum Amp PowerIdeal Amp Power
500 watts500 watts750–1000 watts

What Happens If You Use a Smaller Amp?

You can technically use a smaller amp with your 500 watt speakers. For example, a 50 or 100 watt amp will work, but you won’t get the full potential of your speakers. You’ll also risk distortion if you turn the volume up too high.

High-sensitivity speakers (like many PA speakers) can get very loud even with a small amp. But if you want clean, powerful sound, a bigger amp is the way to go. If you only use your system at low volumes, a smaller amp is fine. For big events or loud music, you need the extra power.


How Loud Will Your System Be?

With 500 watt speakers and a matching amp, you can get seriously loud. For example, if your speakers have a sensitivity of 98 dB (which is common for PA speakers), they’ll be very loud even with a small amp. With a 50 watt amp, you can reach 115 dB at 1 meter, which is enough to damage your hearing.

But with a 500 watt amp, you can fill a large room or outdoor space with sound. If you’re playing in a club, auditorium, or at a party, this is the power you need. For home use, you’ll rarely need to use all that power, but it’s nice to have it when you want it.


Practical Tips for Choosing Your Amp

Here are some practical tips to help you pick the right amp for your 500 watt speakers:

  • Always match or exceed the RMS rating of your speakers for the best sound and safety.
  • Look for headroom—an amp with 1.5 to 2 times your speaker’s RMS rating is ideal.
  • Check the impedance to make sure your amp and speakers are compatible.
  • Consider your usage—home, party, or live sound? Choose your amp power accordingly.
  • Avoid distortion—never push a small amp too hard. It’s better to have extra power than not enough.

Real-World Examples

Let’s look at some real-world situations:

  • Home Stereo: You probably don’t need 500 watts per channel at home. A 100–200 watt amp is plenty for most rooms.
  • Small Party or Coffee Shop: 250–500 watts per channel will give you plenty of volume.
  • Club or Auditorium: 500–1000 watts per channel is ideal for loud, clear sound.
  • Outdoor Festival: You might need 1000 watts or more per channel to cover a big area.

What About Multiple Speakers?

If you’re using more than one speaker per channel, you need to adjust your amp power. For example, if you connect two 500 watt speakers to one channel, your amp should be able to handle 1000 watts at that impedance. Always check your amp’s specs for multi-speaker setups.


Common Myths and Mistakes

There are a few myths about matching amps and speakers. Here’s what you should know:

  • Myth: Using a bigger amp will blow your speakers.
    Truth: As long as you don’t turn the volume up too high, a bigger amp is safer than a small one.
  • Myth: You need an amp with the exact same wattage as your speakers.
    Truth: It’s better to have extra power for headroom and cleaner sound.
  • Myth: Impedance doesn’t matter as long as the wattage matches.
    Truth: Impedance must match to avoid damage and get the best performance.

So What Size Amp Do You Need?

Matching your amp to your 500 watt speakers is easier than you think. Just remember to match or exceed the RMS rating, look for headroom, and check the impedance. With the right amp, your speakers will sound amazing and last for years.

Whether you’re setting up a home theater, a party system, or a live sound rig, the right amp makes all the difference. Now you know exactly what size amp you need for your 500 watt speakers. Happy listening!

How to Match Your Amp Wattage to Speaker Wattage (Without Blowing Anything Up)

You’ve got the speakers. You’ve got the amp. Now, how do you make sure they play nice together? Matching amp and speaker wattage isn’t just about avoiding smoke signals-it’s about unlocking crystal-clear sound. Let’s break it down like a playlist, minus the skips.


Why Wattage Matching Matters (And Why It’s Not Rocket Science)

Think of your speaker’s wattage as its “max caffeine intake.” Go overboard, and it’ll fry. Stay too low, and it’ll underwhelm. Speakers list two key specs: RMS (continuous power handling) and peak (short-burst tolerance). Your amp’s RMS per channel should at least match your speaker’s RMS.

Here’s the sweet spot: Aim for an amp that delivers 1.5–2x your speaker’s RMS wattage. Why? Headroom. Like a safety net, extra power prevents distortion when bass drops or vocals soar. But don’t go overboard-a 100W speaker paired with a 200W amp is like feeding a goldfish a family-size pizza.


The Impedance Tango: Ohms Aren’t Just for Yoga

Impedance (measured in ohms) is your speaker’s electrical “resistance.” Most home speakers sit at 4–8 ohms. Your amp’s manual will list compatible impedance ranges-stray outside these, and you risk overheating or muffled sound.

  • Match the numbers: If your speakers are 8 ohms, use an amp rated for 8 ohms.
  • Series vs. parallel: Wiring multiple speakers? Calculate total impedance to avoid surprises.

Pro tip: Lower impedance (e.g., 4 ohms) lets your amp deliver more power-but only if it’s designed to handle it.


Sensitivity: The Secret Sauce for Louder Sound (Without More Watts)

Speaker sensitivity (measured in dB) tells you how loud a speaker gets with 1 watt of power at 1 meter away. A 90dB speaker needs 10 watts to hit 100dB-the volume of a motorcycle. A 100dB speaker? Just 1 watt.

  • High sensitivity (90dB+): Perfect for low-wattage amps (e.g., 20W tube amps).
  • Low sensitivity (85dB or less): Pair with beefier amps (100W+) to fill larger rooms.

The “Twice as Powerful” Myth Debunked

You’ve heard it: “Your amp should be twice your speaker’s wattage!” This myth stems from avoiding distortion, but it’s not a hard rule. Modern amps and speakers are more forgiving. Instead:

  1. Use the 1.5x guideline for headroom.
  2. Watch for clipping (distortion sounds like static)-it means your amp is struggling.
  3. Volume habits matter. Crank it to 11 daily? Lean toward 2x wattage.

Your Matching Cheat Sheet

Speaker SpecAmp Wattage Sweet SpotWatch Out For
50W RMS, 8 ohms75–100W per channelLow impedance amps
100W RMS, 4 ohms150–200W per channelOverheating
High sensitivityLower wattage worksUnderpowering

Trust Your Ears (Yes, Really)

Specs guide you, but your ears have the final say. If your system sounds clean at your preferred volume, you’ve nailed it. Now, go make those neighbors jealous-responsibly

How Many Speakers Can Be Connected to an Amplifier?

If you’ve ever wondered how many speakers you can connect to your amplifier, you’re not alone. Whether you’re setting up a home theater, hosting a party, or upgrading your audio system, understanding how to connect multiple speakers is essential. Let’s break it down in simple terms so you can make the right choices for your setup.


Understanding Amplifier and Speaker Compatibility

Before connecting multiple speakers, it’s crucial to understand the relationship between your amplifier and speakers. The key factors to consider are impedance and power ratings.


What Is Impedance?

Impedance is measured in ohms and represents the resistance a speaker gives to the electrical current from the amplifier. Most speakers have an impedance of 4, 6, or 8 ohms. Your amplifier will specify the range of impedance it can handle safely.

  • If the total impedance falls below the amplifier’s limit, it can overheat or shut down.
  • If the impedance is too high, the speakers may not get enough power for optimal performance.

Power Ratings Matter

The power rating of an amplifier (measured in watts) should match or exceed the combined power requirements of your connected speakers. Overloading your amplifier with more speakers than it can handle will compromise sound quality and could damage your equipment.


How Many Speakers Can You Safely Connect?

The number of speakers you can connect depends on how they are wired and your amplifier’s specifications. Let’s explore the common methods:

1. Series Wiring

In series wiring, you connect one speaker to the next in a daisy-chain fashion:

  • Positive terminal of the amplifier connects to the positive terminal of Speaker 1.
  • Negative terminal of Speaker 1 connects to the positive terminal of Speaker 2.
  • Repeat this pattern for additional speakers.

Key Points:

  • Total impedance increases because you add up each speaker’s impedance.
  • This method reduces power output but protects your amplifier from overloading.
  • Example: Two 8-ohm speakers wired in series result in a total impedance of 16 ohms.

2. Parallel Wiring

In parallel wiring, all positive terminals are connected together, and all negative terminals are connected together:

  • Positive terminals of all speakers connect to the positive terminal on the amplifier.
  • Negative terminals do the same.

Key Points:

  • Total impedance decreases because it’s calculated using a formula:
    Total Impedance=11R1+1R2+…Total Impedance=R11+R21+…1
    For example, two 8-ohm speakers in parallel result in a total impedance of 4 ohms.
  • Lower impedance puts more strain on your amplifier, so ensure it can handle the load.

3. Combination of Series and Parallel

This method combines both wiring techniques to balance impedance and allow more speakers to be connected without overloading the amplifier.

Key Points:

  • Ideal for setups requiring multiple speakers while maintaining safe impedance levels.
  • Often used in commercial or large-scale audio systems.

Using Speaker Selector Switches

If you’re looking for a hassle-free way to connect multiple speakers, consider using a speaker selector switch. These devices allow you to connect several speakers without worrying about complex wiring or impedance mismatches. Many models include built-in impedance protection, ensuring your amplifier operates safely.


Practical Examples

Let’s look at some common scenarios:

Small Home Setup (2–4 Speakers)

For most home stereo amplifiers:

  • You can safely connect two 8-ohm speakers in parallel or series.
  • If adding more than two speakers, use a combination wiring method or a selector switch.

Larger Systems (4+ Speakers)

For larger setups like home theaters or outdoor events:

  • Use amplifiers specifically designed for multi-speaker systems.
  • Consider distributed audio systems with impedance-matching volume controls for each speaker.

Commercial Installations

In commercial settings like restaurants or conference halls:

  • Use 70V/100V amplifiers designed for long cable runs and multiple speakers.
  • These systems simplify wiring and eliminate complex impedance calculations.

FAQs About Connecting Speakers

Can I Connect More Speakers Than My Amplifier Supports?

Technically yes, but it’s risky. Overloading an amplifier can lead to overheating, distortion, or permanent damage. Always check your amp’s specifications before adding extra speakers.

What Happens If Impedance Is Too Low?

Low impedance forces your amplifier to work harder than it’s designed for. This can cause overheating, shutdowns, or even component failure.

Will Adding More Speakers Make It Louder?

Not necessarily. Adding more speakers divides the available power among them, which might reduce overall volume unless your amplifier has enough power output.

Can I Use Different Types of Speakers Together?

Yes, but their impedances must be compatible with each other and with your amplifier. Mixing high and low impedance speakers requires careful wiring and planning.


Tips for Safe and Effective Connections

  1. Read Your Amplifier Manual: Always refer to manufacturer guidelines for supported speaker configurations.
  2. Use Proper Wiring: Invest in high-quality speaker wires and connectors for reliable performance.
  3. Test Before Cranking Up Volume: After connecting everything, test at low volume levels to ensure there’s no distortion or overheating.
  4. Consider Professional Help: If unsure about wiring multiple speakers, consult an audio technician.

Connecting multiple speakers to an amplifier doesn’t have to be complicated if you follow these guidelines. By understanding your equipment’s limitations and choosing the right wiring method, you’ll enjoy great sound without risking damage to your setup!

Which Class Amplifier is Best for Sound Quality?

When it comes to choosing an amplifier for sound quality, understanding the different classes of amplifiers is essential. Each class has unique characteristics that affect efficiency, audio fidelity, and overall performance. In this blog post, we’ll explore the most common amplifier classes—Class A, Class B, Class AB, and Class D—to help you decide which one is best for your needs.

Class A Amplifiers: The Gold Standard for Sound Quality

Class A amplifiers are widely regarded as the best option for pure sound quality. These amplifiers operate with a conduction angle of 360°, meaning the active components are always conducting current. This design ensures excellent linearity and minimal distortion.

Advantages of Class A Amplifiers:

  • Superior audio fidelity with no crossover distortion.
  • Ideal for applications requiring high precision, such as studio monitors or audiophile-grade systems.
  • Simple design with fewer components.

Disadvantages:

  • Extremely inefficient, with typical efficiency ranging from 15% to 35%.
  • Generates significant heat due to constant power consumption.
  • Bulky and expensive compared to other amplifier classes.

If you prioritize sound quality above all else and have the budget and space to accommodate it, Class A amplifiers are your best choice.

Class B Amplifiers: Efficiency Over Sound Quality

Class B amplifiers use a push-pull topology where each transistor conducts for half the signal waveform (180° conduction angle). This design improves efficiency but introduces crossover distortion at low signal levels.

Advantages of Class B Amplifiers:

  • High efficiency, typically around 70%.
  • Lightweight and cost-effective compared to Class A designs.

Disadvantages:

  • Significant crossover distortion affects audio fidelity.
  • Unsuitable for high-fidelity applications.

Class B amplifiers are better suited for applications where efficiency is more critical than sound quality, such as RF transmitters or public address systems.

Class AB Amplifiers: The Balanced Solution

Class AB amplifiers combine the strengths of Class A and Class B designs. They operate in Class A mode at low signal levels and switch to Class B mode at higher levels. This hybrid approach minimizes crossover distortion while improving efficiency.

Advantages of Class AB Amplifiers:

  • Excellent sound quality with low distortion.
  • Efficiency ranges from 50% to 70%, making them more practical than Class A amplifiers.
  • Affordable and widely available in consumer-grade audio systems.

Disadvantages:

  • Efficiency is lower than Class B or Class D amplifiers.
  • Slightly more complex circuitry compared to pure Class A designs.

Class AB amplifiers are the most popular choice for home audio systems due to their balance of sound quality and efficiency. They are ideal for music lovers who want great performance without breaking the bank.

Class D Amplifiers: Modern Efficiency Meets Improved Sound

Class D amplifiers operate by switching their output devices on and off rapidly, using pulse-width modulation (PWM) to replicate the input signal. While they were initially criticized for poor audio quality, advancements in technology have significantly improved their performance.

Advantages of Class D Amplifiers:

  • Extremely efficient, often exceeding 90%.
  • Compact size and lightweight design make them ideal for portable devices.
  • Modern designs offer comparable sound quality to Class AB amplifiers.

Disadvantages:

  • Historically had lower audio fidelity compared to other classes.
  • May introduce high-frequency noise due to switching operations.

Class D amplifiers are perfect for applications where space and energy efficiency are critical, such as car audio systems or portable speakers. If you need a lightweight amplifier with decent sound quality, this class is worth considering.

Which Amplifier Class Should You Choose?

The best amplifier class depends on your specific needs:

Amplifier ClassBest ForWhy Choose It?
Class AAudiophiles seeking ultimate sound qualityOffers unmatched fidelity but requires space and cooling solutions.
Class BHigh-efficiency applicationsSuitable when sound quality is not the primary concern.
Class ABEveryday home audio systemsBalances sound quality and efficiency at an affordable price.
Class DPortable or space-constrained setupsCombines high efficiency with improved sound performance.

For most users looking for great sound quality without excessive costs or inefficiencies, Class AB amplifiers strike the perfect balance. However, if you’re an audiophile willing to invest in top-tier equipment, Class A amplifiers will deliver unparalleled audio fidelity.

Choosing the Right Amplifier Class

Choosing the right amplifier class boils down to your priorities—whether it’s pure sound quality, energy efficiency, affordability, or portability. By understanding the strengths and weaknesses of each class, you can make an informed decision that suits your listening preferences and setup requirements. Whether you’re building a high-end home theater system or upgrading your car audio setup, there’s an amplifier class tailored just for you!

What Is the Most Common Amplifier Failure?

Amplifiers are the backbone of any audio system, whether for home entertainment, professional sound setups, or musical instruments. They boost weak audio signals to drive speakers or headphones effectively. However, like any electronic device, amplifiers are prone to failures. If you’ve ever wondered what the most common amplifier failure is and how to address it, you’re in the right place. Let’s break it down in simple terms.


The #1 Culprit: Blown Output Transistors

The most common amplifier failure is blown output transistors. These components are critical in amplifiers as they handle the power delivery to your speakers. When they fail, the amplifier may stop producing sound entirely or distort it beyond recognition.


What Causes Output Transistors to Fail?

  • Improper Speaker Loads: Connecting speakers with incorrect impedance can overload the amplifier, causing transistors to overheat and fail3.
  • Overheating: Amplifiers generate heat during operation, and inadequate cooling can cause transistors to burn out over time.
  • Short Circuits: Faulty wiring or accidental shorts in the speaker cables can send a damaging surge of current through the transistors.

How to Prevent This Issue

  • Always match your speaker’s impedance with what your amplifier supports.
  • Ensure proper ventilation around your amplifier to prevent overheating.
  • Regularly inspect cables for wear and tear to avoid short circuits.

Other Common Amplifier Failures

While blown output transistors top the list, there are other frequent issues that can plague amplifiers.

1. Loose or Damaged Connections

Loose RCA cables or speaker wires can result in intermittent sound or complete silence. Over time, frequent plugging and unplugging can wear out connectors.

How to Fix It:

  • Inspect all cables for visible damage or loose connectors.
  • Replace worn-out cables and ensure all connections are secure.

2. Blown Fuses

Amplifiers often include fuses as a safety measure. A blown fuse will prevent the amplifier from powering on altogether.

How to Fix It:

  • Check the fuse located near the power supply.
  • Replace it with one of the same type and rating if it’s blown.

3. Overheating Issues

Heat is a silent killer for amplifiers. Poor ventilation or blocked cooling fans can cause components like transistors and capacitors to fail prematurely.

How to Fix It:

  • Keep your amplifier in a well-ventilated area.
  • Regularly clean dust from vents and fans.

4. Faulty Capacitors

Capacitors store and release energy within the amplifier circuit. Over time, they can degrade, leading to distorted sound or no sound at all.

Signs of Failing Capacitors:

  • Popping or crackling sounds.
  • Reduced bass response.

How to Fix It:

  • Open the amplifier casing and inspect for bulging or leaking capacitors.
  • Replace any damaged capacitors with identical ones.

5. Signal Interference

Interference from nearby electronics like smartphones or Wi-Fi routers can disrupt an amplifier’s performance, especially if it uses unshielded cables.

How to Fix It:

  • Use shielded RCA cables to minimize interference.
  • Move electronic devices away from your amplifier setup.

Diagnosing Amplifier Failures

If your amplifier isn’t functioning as expected, here’s a quick checklist:

  1. Check Power: Ensure the amplifier is receiving power by looking at indicator lights.
  2. Inspect Cables: Verify that all input and output connections are secure and undamaged.
  3. Test Components: Use a multimeter to test fuses, resistors, and transistors for continuity.
  4. Listen for Clues: Strange noises like hums, pops, or silence could point you toward specific problems.

When Should You Seek Professional Help?

While some issues like replacing fuses or cables are DIY-friendly, others require technical expertise:

  • If you suspect blown transistors or capacitors but lack experience with soldering.
  • If troubleshooting doesn’t resolve the issue after basic checks.

Professional repair services can save you time and prevent further damage.


The most common amplifier failure is blown output transistors, often caused by improper speaker loads or overheating. However, other issues like loose connections, blown fuses, faulty capacitors, and signal interference are also frequent culprits. By understanding these common failures and their fixes, you can keep your amplifier running smoothly for years.

Remember—regular maintenance is key! Keep your amp cool, check connections often, and always use compatible equipment. If all else fails, don’t hesitate to consult a professional repair technician. After all, a well-functioning amplifier is essential for enjoying crystal-clear sound!

What Ohm is Best for a Guitar Amp?

When it comes to guitar amps, the ohm rating plays a crucial role in determining sound quality, safety, and overall performance. But with options like 4, 8, or 16 ohms available, which is the best choice? Let’s break it down in simple terms so you can make the right decision for your gear.


What Are Ohms and Why Do They Matter?

Ohms measure electrical resistance, which determines how much power flows from your amp to your speakers. The ohm rating of your amp and speaker must be compatible to ensure optimal performance and avoid damage. If the ratings don’t match, you risk poor sound quality or even frying your equipment.

Here’s the golden rule: Always match the amp’s ohm setting to the speaker’s ohm rating or use a lower amp setting than the speaker’s rating. For example:

  • If your speaker is rated at 8 ohms, set your amp to 8 ohms.
  • If your speaker is rated at 16 ohms, you can safely set your amp to 16 or 8 ohms but not lower.

Which Ohm Setting Should You Use?

The best ohm setting for your guitar amp depends on your specific setup. Most amps are designed to work with 4, 8, or 16-ohm speakers, but each setting has its advantages:

1. 4 Ohms

  • Pros: Delivers maximum power output from the amp, making it louder. Ideal for high-energy gigs where volume is key.
  • Cons: Puts more strain on the amp, which could lead to overheating if not properly managed.

2. 8 Ohms

  • Pros: A balanced option that offers great sound quality and moderate power output. It’s a popular choice for most setups.
  • Cons: Slightly less loud compared to 4 ohms but still powerful enough for most situations.

3. 16 Ohms

  • Pros: Provides more headroom and a cleaner tone at higher volumes. It’s often preferred for studio recording or vintage-style tones.
  • Cons: Requires more energy from the amp, which might limit overall volume compared to lower settings.

How Does Wiring Affect Ohms?

If you’re using multiple speakers, their wiring configuration—series or parallel—affects the total ohm load. Here’s how it works:

Series Wiring

  • Add up the individual speaker ohm ratings.
  • Example: Two 8-ohm speakers wired in series equal a total of 16 ohms.
  • Best For: High headroom and cleaner tones.

Parallel Wiring

  • Divide the individual speaker ohm rating by the number of speakers.
  • Example: Two 8-ohm speakers wired in parallel equal a total of 4 ohms.
  • Best For: Maximum power and volume.

Matching Your Amp and Speaker

To get the best results:

  1. Check your amp’s manual for its supported ohm ratings.
  2. Match the speaker’s impedance (ohm rating) with one of the amp’s settings.
  3. Avoid mismatches—never set your amp to a higher ohm rating than your speaker.

For instance:

  • If you have an 8-ohm speaker, set your amp to 8 ohms.
  • If you have two 8-ohm speakers wired in parallel (totaling 4 ohms), set your amp to 4 ohms.

Does Ohm Rating Affect Tone?

Yes! The ohm setting can subtly influence your tone:

  • Lower settings (e.g., 4 ohms) tend to produce a louder and punchier sound.
  • Higher settings (e.g., 16 ohms) often result in warmer tones with more clarity.

However, these differences are minor compared to other factors like speaker type and cabinet design. Experiment with different settings if possible to find what sounds best to you.


Common Questions About Guitar Amp Ohms

Can I Use a Speaker With a Different Ohm Rating?

It’s possible but not recommended unless you know what you’re doing. For example:

  • A lower speaker impedance (e.g., using a 4-ohm speaker with an 8-ohm amp setting) can overload your amp and damage it.
  • A higher speaker impedance (e.g., using an 8-ohm speaker with a 4-ohm amp setting) is generally safe but may reduce volume and tone quality.

What Happens If I Mismatch Ohms?

Mismatch risks include:

  • Reduced sound quality or volume.
  • Overheating or damaging your amp or speakers.

Always aim for compatibility between your amp and speakers.

Does Higher Impedance Mean Better Sound?

Not necessarily—it depends on personal preference and setup:

  • Lower impedance (e.g., 4 ohms) delivers louder output but may sacrifice some tonal clarity.
  • Higher impedance (e.g., 16 ohms) can offer cleaner tones with more headroom.

Choosing the Best Ohm Setting

The “best” ohm setting for a guitar amp depends on what you’re looking for:

  • For maximum volume: Go with a lower setting like 4 ohms.
  • For balanced performance: Stick with 8 ohms.
  • For cleaner tones and headroom: Opt for 16 ohms.

Ultimately, matching your gear correctly is key to getting great sound without risking damage. Take time to understand your setup, experiment with different settings, and enjoy rocking out!

How to Diagnose Amplifier Problems?

Amplifiers are essential components in audio systems, boosting electrical signals to produce sound. When your amplifier malfunctions, it can disrupt your listening experience. Identifying the problem is the first step toward resolving it. You can save time and prevent further damage by systematically diagnosing the issue. Let’s explore how to troubleshoot amplifier problems effectively.

Common Amplifier Problems

Several common issues can affect amplifiers. Recognizing these symptoms will help you diagnose the problem efficiently.

  • No Sound: This could stem from various causes, such as faulty connections or internal failures.
  • Distorted Sound: Distorted audio often indicates component issues or incorrect settings.
  • Low Output: Reduced volume might point to problems within the amplifier’s circuitry.
  • Hum or Buzz: These noises usually suggest grounding problems or power supply issues.
  • Overheating: Excessive heat can signal component stress or inadequate ventilation.

Troubleshooting Steps

A systematic approach is crucial for effective amplifier troubleshooting. Follow these steps to pinpoint the source of the problem.

  1. Check the Obvious First: Begin by inspecting the power source. Ensure the amplifier is plugged in and the outlet is working. Also, verify that all cables are correctly connected. Sometimes, the simplest solution is the correct one.
  2. Inspect the Connections: Examine all input and output jacks for damage or corrosion. Clean any dirty connections with a suitable contact cleaner. Make sure the connections are firm and secure.
  3. Test Inputs and Outputs: If your amplifier has multiple inputs and outputs, test each one. This helps determine if the problem is specific to a particular jack. If the issue persists across all inputs/outputs, the problem likely lies within the amplifier’s internal circuitry.
  4. Isolate the Problem: In multi-channel amplifiers, check each channel independently. If the problem exists in only one channel, focus your troubleshooting efforts there. This narrows down the potential fault location.
  5. Visual Inspection: Carefully inspect the amplifier’s components for signs of damage. Look for burnt components, loose wires, or broken solder joints. These visual cues can often reveal the source of the problem.
  6. Power Supply Check: Ensure the amplifier receives stable and correct voltage. Use a multimeter to measure the voltage at various points in the circuit. Inconsistent or incorrect voltage readings often indicate power supply issues.
  7. Component Testing: Use a multimeter to test individual components like resistors, capacitors, and transistors. Compare the measured values with the specified values in the amplifier’s schematic. Faulty components should be replaced.
  8. Signal Tracing: Use an oscilloscope to trace the audio signal through different stages of the amplifier. This helps identify where the signal is lost or distorted. Signal tracing requires some technical knowledge.
  9. Check for Overheating: Feel the heat sinks and components to identify any overheating parts. Overheating can indicate a component failure or a bias problem. Ensure proper ventilation to prevent future issues.
  10. Look for “Cold” Solder Joints: Cold solder joints can cause intermittent or complete signal loss. Reflow any suspicious solder joints with a soldering iron. Make sure the solder flows smoothly and creates a solid connection.

Tools and Equipment

Having the right tools is essential for diagnosing and repairing amplifier problems. Here’s a list of useful items:

  • Multimeter: Essential for measuring voltage, current, and resistance.
  • Soldering Iron and Solder: Needed for repairing or replacing components.
  • Desoldering Pump or Wick: Used to remove solder when replacing components.
  • Screwdrivers: Various sizes for disassembling the amplifier.
  • Pliers and Wire Cutters: Useful for handling and cutting wires.
  • Contact Cleaner: For cleaning dirty jacks and connections.
  • Oscilloscope: For tracing audio signals (advanced troubleshooting).
  • Service Manual/Schematic: Provides valuable information about the amplifier’s design and component values.

DIY vs. Professional Repair

Deciding whether to repair the amplifier yourself or seek professional help depends on your technical skills and the complexity of the problem.

DIY Repair:

  • Pros: Cost-effective, educational, and satisfying.
  • Cons: Requires technical knowledge, risk of further damage if not done correctly.

Professional Repair:

  • Pros: Reliable, ensures proper repair, and avoids potential damage.
  • Cons: Can be expensive, may take time to complete.

If you’re comfortable using tools and have some electronics knowledge, you might try simple repairs. However, complex issues are better left to qualified technicians.

Maintenance Tips

Regular maintenance can prevent many common amplifier problems. Follow these tips to keep your amplifier in top condition.

  • Regular Cleaning: Keep the amplifier clean and free of dust. Use a soft brush or vacuum to remove dust from vents and components.
  • Check Connections: Regularly inspect and tighten all connections. Loose connections can cause noise and signal loss.
  • Proper Ventilation: Ensure the amplifier has adequate ventilation to prevent overheating. Do not block the vents.
  • Avoid Overloading: Do not overdrive the amplifier, as this can cause distortion and damage. Keep the volume at a reasonable level.
  • Periodic Servicing: Consider having your amplifier professionally serviced periodically. A technician can identify and address potential issues before they become major problems.

Safety Precautions

Working with electronics can be dangerous if safety precautions are not followed. Keep these tips in mind:

  • Unplug the Amplifier: Always unplug the amplifier before working on it. This prevents electric shock.
  • Discharge Capacitors: Capacitors can store high voltages even after the amplifier is unplugged. Discharge them using a suitable resistor before touching any components.
  • Use Insulated Tools: Use tools with insulated handles to prevent electric shock.
  • Work in a Well-Lit Area: Ensure you have good lighting to see what you’re doing.
  • Take Breaks: Avoid working for extended periods to prevent fatigue and mistakes.

Additional Resources

Explore these resources for further assistance:

By following these steps, using the right tools, and taking necessary safety precautions, you can diagnose and address many common amplifier problems. Regular maintenance and a systematic approach will extend the life of your amplifier.

How Much Should I Pay for a Good Amp?

Purchasing a good amplifier (amp) can greatly enhance your audio experience, whether for playing an instrument, enjoying music at home, or for professional sound setups. However, finding the right balance between quality and budget can be daunting. This article will delve into the essential factors to consider when buying an amp and the price ranges you can expect for various types and use cases.


Understanding Amplifier Basics

An amplifier, or “amp,” boosts weak audio signals to levels that can drive speakers or headphones, delivering clearer and more robust sound. Amps are vital for musicians, audiophiles, and anyone serious about audio quality.

1. Types of Amplifiers

  • Guitar and Bass Amps: Used by musicians to amplify electric guitars and basses.
  • Home Audio Amps: Integrated amps for stereo systems or home theater setups.
  • Headphone Amps: Enhance the sound quality for high-impedance headphones.
  • Power Amps: Used in professional settings, often paired with a preamp.

Key Factors Influencing Amp Prices

Several factors affect how much you should be willing to spend on an amplifier. Understanding these can help determine what suits your budget and needs:

1. Type and Application

  • Guitar and Bass Amps: Basic practice amps can start as low as $50, while high-quality tube amps for professional use can range from $1,000 to $2,500.
  • Home Audio Amps: Entry-level home audio amps might cost around $150-$300, whereas high-fidelity models can run upwards of $5,000 for premium audiophile quality.
  • Headphone Amps: Simple portable headphone amps can start at $20-$50, while desktop models with advanced features range from $100 to $2,000.

2. Technology and Build Quality

  • Solid-State vs. Tube Amps: Tube amplifiers often deliver warmer sound but are more expensive, starting at about $500. Solid-state amps are generally more budget-friendly and durable, priced from $100 to $1,500.
  • Hand-Wired vs. PCB (Printed Circuit Board): Hand-wired amps offer better craftsmanship and are generally priced higher, starting from $800.

3. Brand Reputation

Premium brands often come at a higher price due to their established reputation for quality, durability, and sound precision. Renowned brands include:

  • Guitar Amps: Marshall, Fender, and Vox.
  • Home Audio Amps: Marantz, NAD, and Denon.
  • Headphone Amps: Schiit Audio and FiiO.

Price Ranges for Different Amp Categories

1. Guitar and Bass Amplifiers

  • Beginner Models: Affordable solid-state practice amps can be found for $50-$200 (e.g., Fender Frontman).
  • Intermediate Models: Combo amps with more features for stage use range from $300-$800 (e.g., Boss Katana series).
  • Professional Grade: High-quality tube amps start at $1,000 and can go beyond $2,500 (e.g., Marshall JCM800).

2. Home Audio Amplifiers

  • Entry-Level Stereo Amps: Basic integrated amplifiers like those from Yamaha or Denon cost between $150-$500.
  • Mid-Range Audio Enthusiast Models: Expect to pay $500-$1,500 for better soundstage and power (e.g., Cambridge Audio CXA81).
  • High-End Audiophile Amps: These can range from $2,000 to $10,000 (e.g., McIntosh MA252).

3. Headphone Amplifiers

  • Portable Options: For on-the-go use, prices start at $20 for basic models (e.g., FiiO A1).
  • Desktop Headphone Amps: Dedicated audiophile-grade amps can range from $100 to $2,000 (e.g., Chord Mojo 2).

What to Look for in a Good Amp

1. Sound Quality

Ensure that the amp produces clear sound across different volume levels. Check for warm tones in tube amps and precise, sharp output in solid-state models.

2. Power Output

  • Wattage: For home use, amps with 20-50 watts are sufficient. Professional gigs may require amps with 100+ watts.
  • Headroom: Higher headroom means better sound clarity at high volumes.

3. Features and Connectivity

  • Built-in Effects: Look for amps that come with reverb, delay, or modulation effects if needed.
  • Bluetooth and Smart Capabilities: Modern amps often include Bluetooth streaming and app controls, adding convenience but potentially increasing the price.

Budgeting Tips for Buyers

1. New vs. Used Amps

Purchasing a used amplifier can save up to 40%-60% compared to new models. Websites like Reverb and Guitar Center’s used section offer reliable options with user reviews and return policies.

2. Set Realistic Expectations

Your budget should reflect your needs:

  • Hobbyist: $50-$300 for an entry-level amp.
  • Amateur Performer: $300-$800 for a quality combo amp.
  • Professional: $1,000 and above for premium builds and tonal excellence.

3. Maintenance Costs

Factor in potential maintenance costs, especially for tube amps that require tube replacements and recalibration over time.


Top Recommendations by Category

1. Guitar Amps

  • Budget-Friendly: Fender Champion 20 ($130)
  • Mid-Tier: Vox AC15 ($750)
  • High-End: Fender ’65 Twin Reverb ($1,500)

2. Home Audio Amps

  • Entry-Level: Yamaha R-S202BL ($180)
  • Audiophile Grade: NAD C 399 ($2,000)

3. Headphone Amps

  • Affordable: Schiit Magni 3+ ($99)
  • Premium: Chord Hugo 2 ($2,500)

Determining how much you should pay for a good amp depends on your specific needs, usage, and preferences. Beginners can find great options for under $200, while professionals may need to budget over $1,000 for premium sound quality and features. Always balance cost with quality, and remember that an amp’s longevity and sound performance often justify higher investments.